
Introduction to Recording Yourself on MacBook
Recording yourself on a MacBook can be a useful skill to have in today’s digital age. Whether you’re looking to create videos for social media, record podcasts, or make video presentations for work or school, being able to record yourself on your MacBook can open up a range of possibilities.
In this blog post, we’ll walk you through the process of setting up your recording equipment, using QuickTime Player to record audio and video, and exploring third-party recording software options. By the end of this post, you’ll have all the tools and knowledge you need to confidently record yourself on your MacBook.
Before we get started, it’s important to note that the recording process can vary slightly depending on your specific MacBook model and the recording equipment you have. However, the general principles and steps outlined in this guide should apply to most MacBooks.
Now, let’s dive in and explore how to record yourself on a MacBook.
Setting up your recording equipment
Before you can start recording yourself on your MacBook, you’ll need to make sure you have the right equipment and that it’s set up properly. There are a few key pieces of equipment to consider when setting up your recording setup:
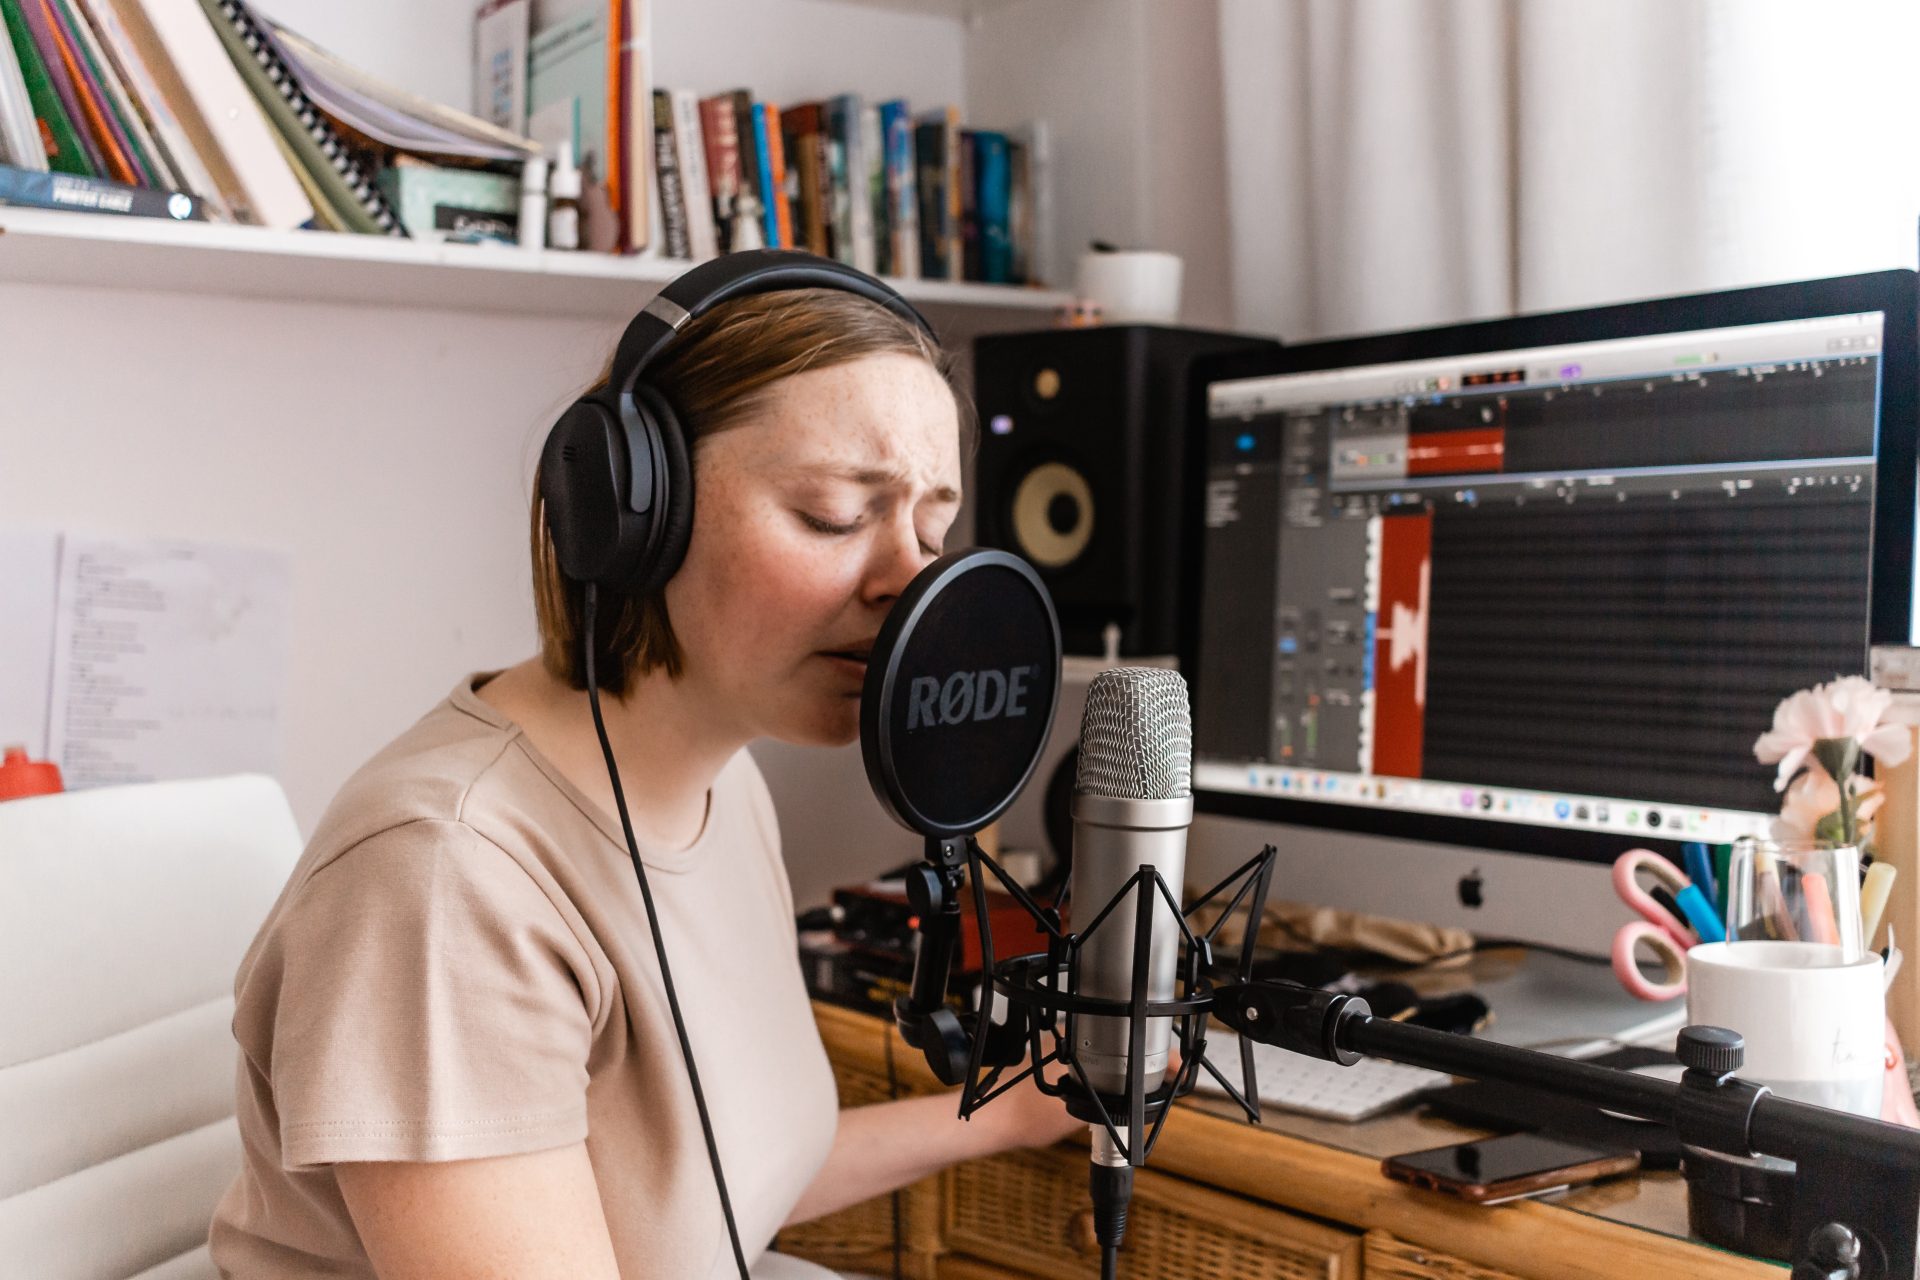
First, you’ll need a microphone to capture your voice or any other audio you want to record. You have a few options when it comes to microphones, such as the MacBook built-in microphone or an external microphone.
If you’re using an external microphone that requires a wired connection, you’ll need an audio interface to connect the microphone to your MacBook. An audio interface is a device that allows you to connect professional audio equipment to your computer.
Lastly, if you’re planning on recording video as well as audio, you need a stable surface to hold your MacBook. A tripod can be a good option, but you can also use a stack of books or other stable surfaces to prop up your MacBook.
Once you have your recording equipment set up, you’ll need to adjust your audio input settings in System Preferences to make sure your MacBook is set up to receive audio from your microphone.
To do this, click on the Apple menu, select “System Preferences” and click on the “Sound” icon. In the Sound window, you need to click on the “Input” tab.
After that, from the “Select a device for sound input” dropdown menu, choose the microphone you want to use. If you’re using an external microphone or audio interface, it should appear as an option in this dropdown menu.
Once you’ve set up your recording equipment and adjusted your audio input settings, you’re ready to start recording yourself on your MacBook.
Using QuickTime Player to record audio and video
One of the most user-friendly ways to record both audio and video on a MacBook is by using the built-in QuickTime Player.
To start recording audio and video, you need to launch QuickTime Player by clicking on its icon in the Dock or by searching for it in Spotlight.
Once QuickTime Player is open, click on “File” in the top menu bar and select “New Audio Recording” to record audio only, or “New Movie Recording” to record audio and video. A recording window will then appear, with controls for starting and stopping the recording, as well as options for adjusting audio and video settings.
To adjust audio settings, click on the small arrow next to the red record button and select “Audio Settings.” From here, you can choose the microphone you want to use and adjust the input volume.
To adjust video settings, click on the small arrow next to the red record button and select “Video Settings.” From here, you can choose the camera you want to use and adjust the frame rate and resolution.
When you’re ready to start recording, click on the red record button. To stop the recording, click on the stop button or press the Command + Control + Esc keys on your keyboard.
Once the recording is finished, QuickTime Player will automatically save the recorded audio or video file to your MacBook. You can find the file in the “Movies” folder in your “Home” directory.
Using QuickTime Player to record audio and video is a simple and convenient way to get started with recording on your MacBook. However, if you want more advanced features or greater control over your recordings, you may want to consider using third-party recording software.
In the next section, we’ll explore some options for third-party recording software.
Using third-party recording software
There are plenty of third-party software programs that offer more advanced features and customization options and may be particularly useful if you need to record multiple tracks or edit your recordings in post-production.
When it comes to using third-party recording software, there are a few key steps to keep in mind.
First, it’s important to research and select software that fits your specific recording needs. Some popular options include Adobe Audition, GarageBand, and Audacity.
Once you’ve chosen the software, you can start by downloading and installing it on your MacBook.
After that, you will need to connect your recording device and once done, open the software and select your recording device. Follow the instructions provided by the software to set up your recording device and prepare to record.
Once you are set up and ready to go, start recording by pressing the designated button in the software. Make sure to speak clearly and at a consistent volume, and try to minimize background noise if possible.
Finally, when you are finished recording, save your file in the software and export it to a location of your choice on your MacBook. You can then share or edit your recording as needed.
With these steps in mind, you’ll be able to use third-party recording software with ease on your MacBook.
Conclusion: Mastering the Art of Recording on a MacBook
In conclusion, recording yourself on a MacBook is a great way to capture audio and video, whether for personal or professional use. Once you have your equipment set up, you can choose to use QuickTime Player, which is built-in software that offers easy and straightforward recording for both audio and video.
Another option is to use third-party recording software, which often provides more advanced features and customization options. Whichever method you choose, be sure to familiarize yourself with the software and features before starting your recording, and always save your progress regularly to avoid losing any data.
Frequently Asked Questions
You can use the QuickTime Player app to record audio from an external microphone or device.
Yes, you can use the QuickTime Player app to record video from a connected webcam or external camera.
Yes, you can use third-party software such as Adobe Audition or GarageBand to record multiple tracks at once on a MacBook. These programs often offer more advanced features and customization options for recording and editing audio.
Depending on the type of microphone or device you are using, you may need to use a specific type of adapter or cable to connect it to your MacBook. Consult the documentation for your device and MacBook to determine the appropriate connection method.
Yes, you can use third-party software such as Adobe Audition or GarageBand to edit your recordings on a MacBook. These programs offer a range of tools and features for cutting, splicing, and manipulating audio or video files.
After recording, you can save your file in the software you used or export it to a location on your MacBook. From there, you can share your recording via email, upload it to a cloud storage service, or transfer it to a USB drive or other external storage device.