
Introduction to Cloning your Mac Hard Drive
Cloning your Mac hard drive is a useful way to create a backup of all your important data and files, as well as to upgrade to a larger hard drive or transfer data to a new computer. It can save you time and provide peace of mind knowing that your data is safely backed up in case of any unforeseen issues.
Before we get started, let’s define what we mean by cloning a hard drive. Cloning a hard drive involves creating an exact copy of the contents of one hard drive and transferring them to another hard drive.
In this blog post, we’ll discuss the reasons for cloning your Mac hard drive, as well as the necessary preparation and steps for doing so using the Disk Utility and the SuperDuper! app. We’ll also cover some things to keep in mind during the cloning process to ensure a smooth and successful experience.
Reasons to clone your Mac hard drive
There are several reasons why you might want to clone your Mac hard drive.
One of the main reasons is for data backup purposes. It’s always a good idea to have a backup of your important files, in case anything happens to your computer, such as a hardware failure or data loss due to a virus or other issue. Cloning your hard drive allows you to create a comprehensive backup of all your data, including your operating system, applications, and personal files.
Another reason to clone your Mac hard drive is if you need to upgrade to a larger hard drive. If you’re running out of storage space on your current hard drive, cloning it to a larger one can be a convenient way to expand your storage capacity without losing any of your data.
Finally, cloning your hard drive can also be a useful way to transfer all your data to a new computer. Instead of manually transferring files and re-downloading and installing all your applications, you can simply clone your old hard drive to the new one and have everything ready to go.
Preparation for cloning your Mac hard drive
Now that you have an understanding of why you might want to clone your Mac hard drive, let’s move on to the preparation involved in the process.
Before we get started, it’s important to note that cloning your hard drive can be a technical process, and it’s always a good idea to create a backup of your data before attempting any major changes to your system.
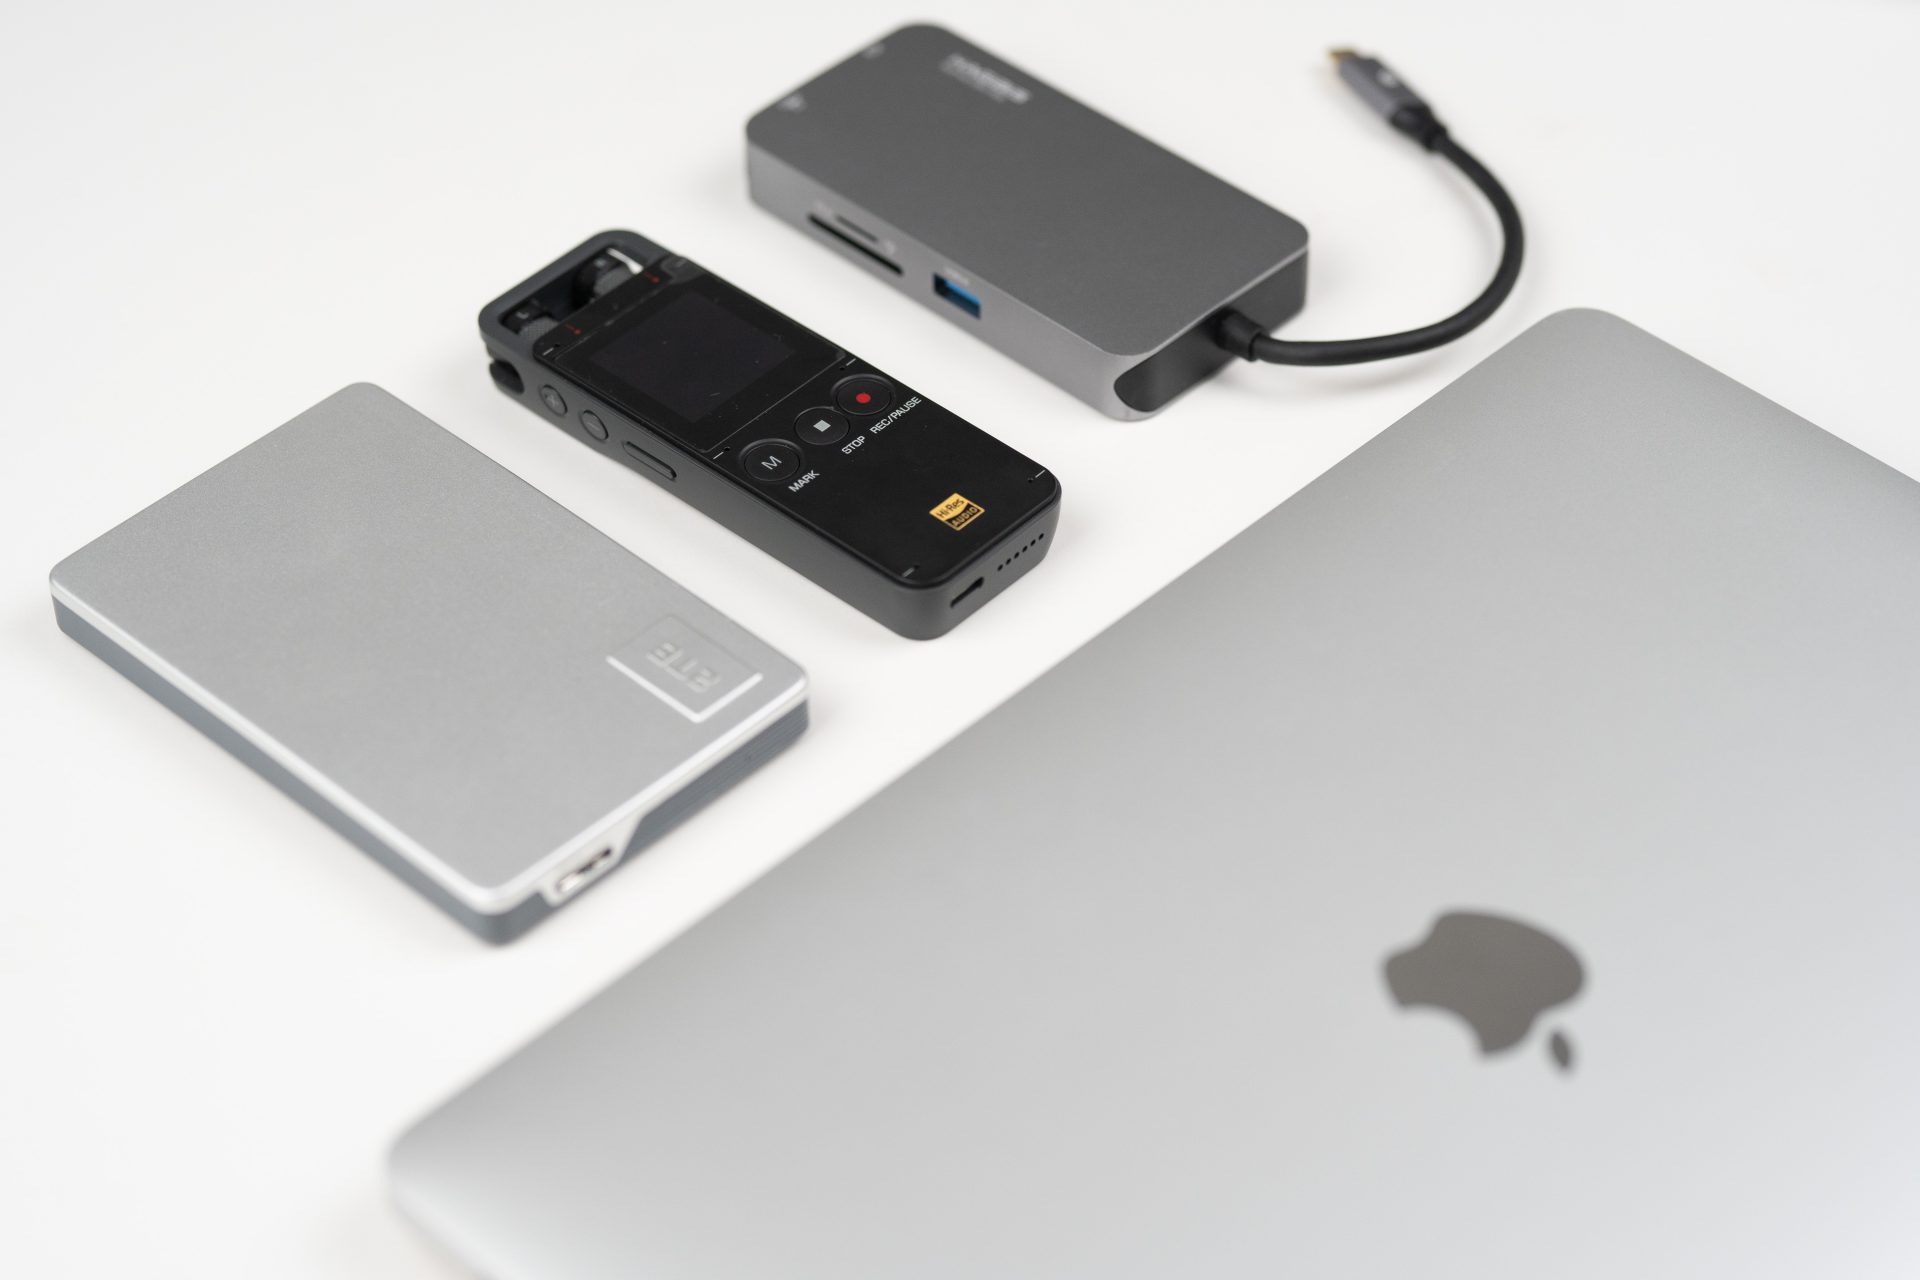
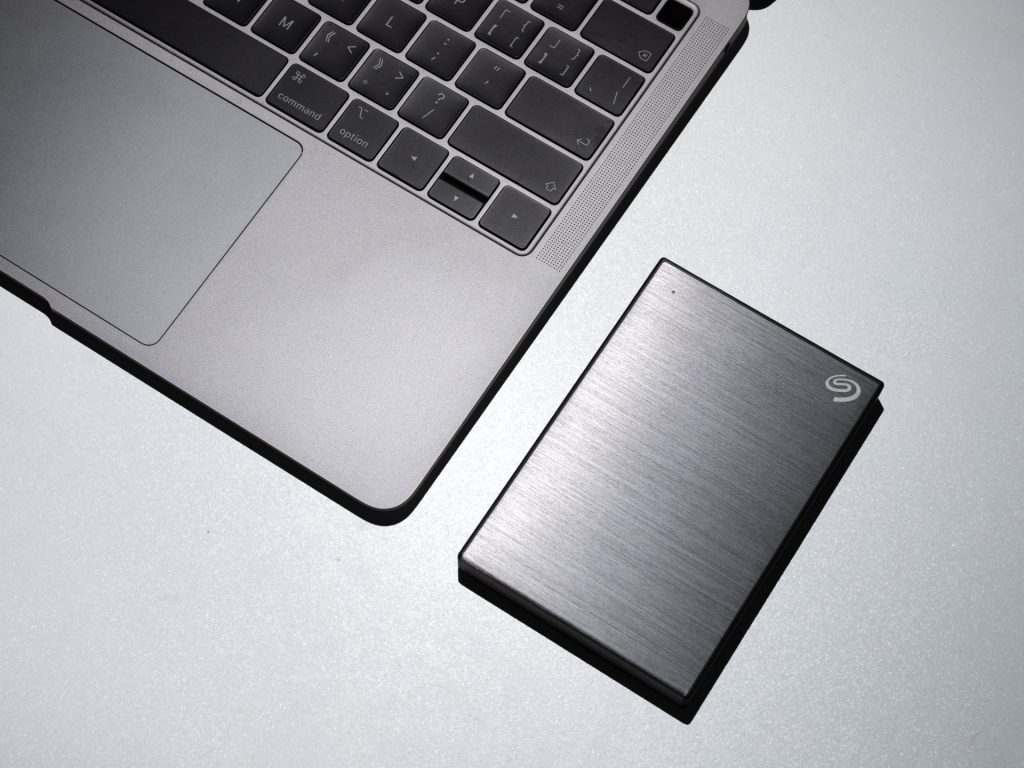
The first thing you’ll need to do is connect your backup drive to your Mac. This can be done using a USB or Thunderbolt cable, depending on the type of drive you’re using.
Once the drive is connected, you’ll need to open the “Disk Utility” application on your Mac. This can usually be found in the “Utilities” folder within the “Applications” folder.
Once you’ve opened the Disk Utility, you’ll need to select your backup drive from the list of available drives on the left side of the window. Once the drive is selected, you’ll need to click the “Erase” button.
This will bring up a dialog box where you can specify the formatting options for the drive. Make sure to choose “Mac OS Extended (Journaled)” as the format, and give the drive a name. Once you’ve set these options, click the “Erase” button to format the drive.
Once the process is complete, you can proceed with cloning your Mac hard drive.
Steps for cloning your Mac hard drive
There are two main ways to clone your Mac hard drive: using the Disk Utility that is built into your Mac, or using a third-party app such as SuperDuper!
Using the Disk Utility
After creating a backup of your data in the previous section, you’ll need to select the backup drive in the Disk Utility and click the “Restore” button. This will bring up a dialog box where you can select the source and destination for the restore process.
You’ll need to select your Mac’s hard drive as the source and the backup drive as the destination. Once you’ve set these options, click the “Restore” button to begin the cloning process.
The cloning process can take some time, depending on the amount of data you have on your hard drive. It’s important to not interrupt the process or unplug the drives during this time.
Once the cloning process is complete, you’ll have an exact copy of your Mac’s hard drive on the backup drive.
You’ve now successfully cloned your Mac hard drive using the Disk Utility. Just remember to create a backup of your data before attempting any major changes to your system, and to be careful and patient during the cloning process.
Using SuperDuper! app
Cloning your hard drive can easily be done with the SuperDuper! app. This easy-to-use application provides users with quick and comprehensive disc copying for both system and user files on Mac computers. All you need to do is download SuperDuper!, install it on your Mac and launch it.
Once you have launched the app, select the source drive and destination drive. The source drive is the drive that you are cloning and the destination drive is the one on which you will save your cloned files.
After selecting the drives, choose “Backup – all files” from the dropdown. This will ensure that everything is copied over exactly as it appears on the source drive.
Below that, there will be additional options for copying including options, scheduling backups, and whether to proceed with copying. Select “Options” in order to choose the type of files that are to be copied over.
For example, you can choose if you would like to copy system files, user files, or both. Finally, return to the main screen and click “Copy Now” to begin the cloning process.
Once the cloning process is complete, you can restart your computer and check if the cloning process was successful.
Things to keep in mind
There are a few important things to remember when you decide to clone your Mac hard drive.
First off, you should be sure that the clone is as up-to-date as possible. Cloning an older version of your operating system can lead to compatibility issues with newer software versions and hardware components.
Additionally, be mindful of file size limitations; make sure whatever medium you are using has enough capacity to handle the transfer of data. Back up any valuable data prior to cloning, just in case something goes wrong and your files become compromised or corrupted in the process.
Finally, once the cloning process is complete, double-check how much space remains on your old drive before deleting any unnecessary files or applications. Keeping these tips in mind could save you from some potential headaches down the road.
Conclusion
In conclusion, cloning your Mac hard drive can be a useful task to perform in order to back up your important data and files, or to upgrade to a larger hard drive. There are several reasons to clone your Mac hard drive, including the desire to have a backup in case of a system failure or data loss.
Before cloning your Mac hard drive, it is important to create a backup of your data. There are a few different methods for cloning your Mac hard drive, including using the Disk Utility and the SuperDuper! app.
It is important to keep in mind that cloning your hard drive will overwrite any data on the destination drive, so be sure to double-check that you have selected the correct destination and that you have made any necessary backups.
Frequently Asked Questions
Cloning is the process of copying data from one drive to another, usually for the purpose of creating a backup.
There are a few different methods for cloning your Mac hard drive, including using the Disk Utility and the SuperDuper! app.
Yes, it is possible to clone your Mac hard drive to a different type of drive, such as an SSD. However, it is important to ensure that the destination drive is compatible with your Mac and has enough capacity to hold all of the data you wish to clone.
Yes, cloning your hard drive will overwrite any data on the destination drive, so be sure to double-check that you have selected the correct destination and that you have made any necessary backups.
It is generally recommended to clone your Mac hard drive while it is not in use in order to ensure that all data is properly captured.
If you do need to clone your hard drive while it is in use, it is important to make sure that any open files or programs are saved and closed.
Yes, you can use the cloned hard drive as a replacement for your original hard drive. After cloning your hard drive, you can physically remove the original hard drive and replace it with the cloned hard drive.